Food Photography Composition: 7 Flat Lay Techniques That Actually Work
Food photography composition guide: center, diagonal, triangle, T-shape, Z-shape, surrounding, and parallel flat lay techniques. How to arrange plates, drinks, and props for Instagram-worthy shots.
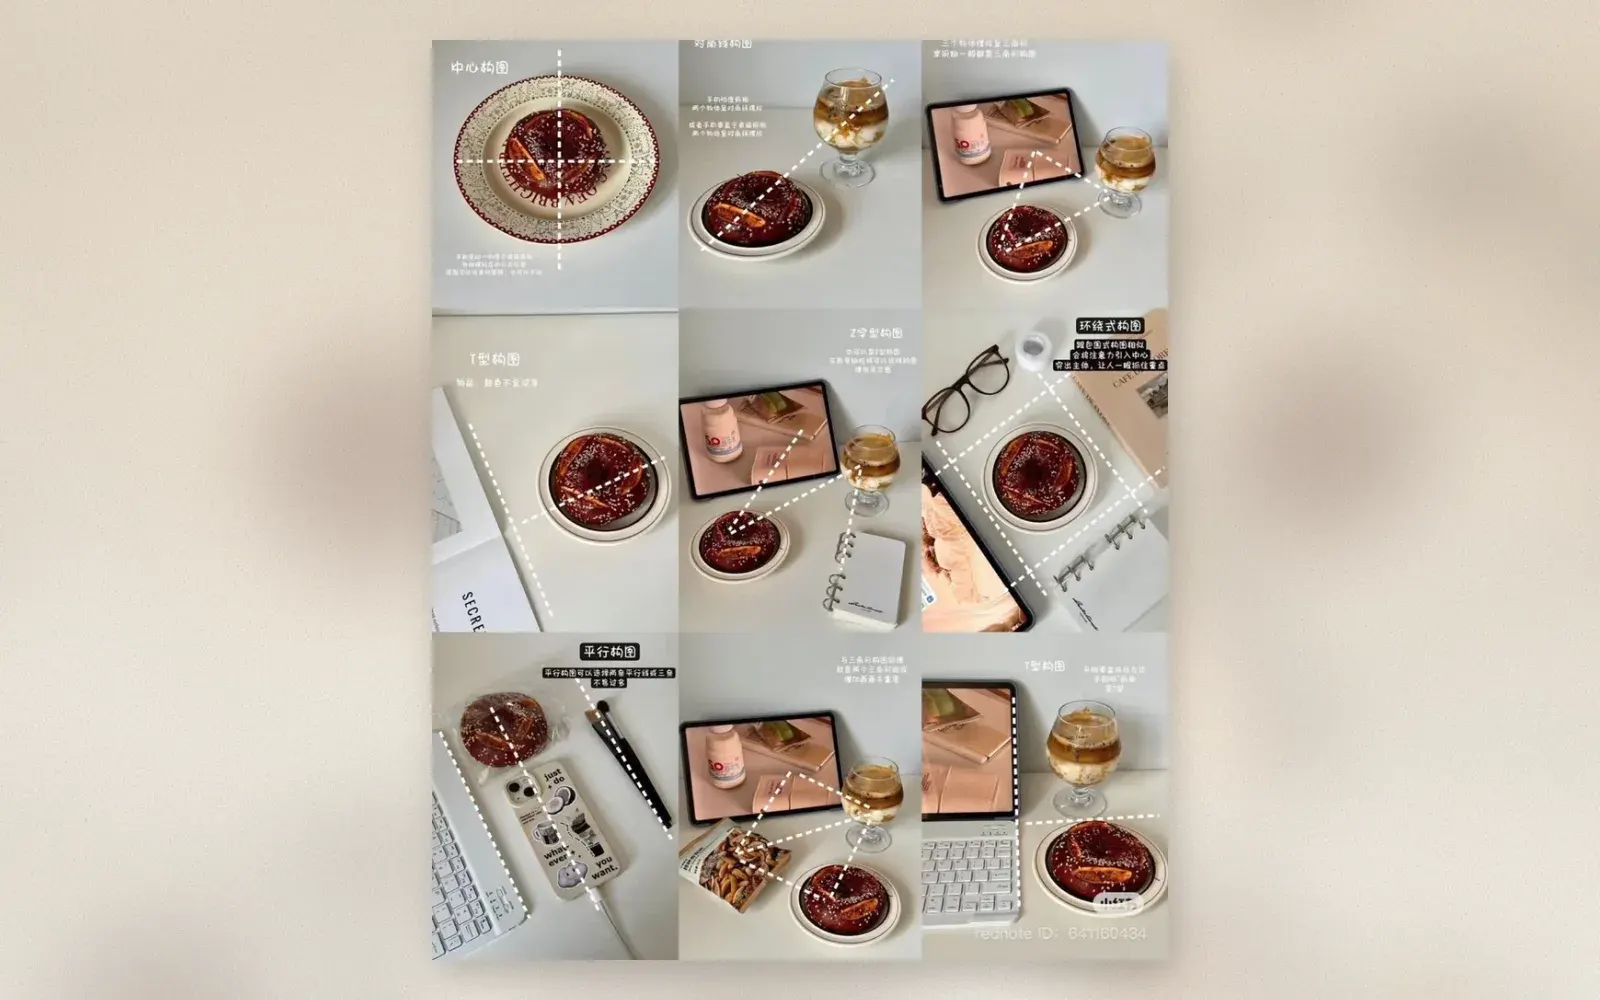
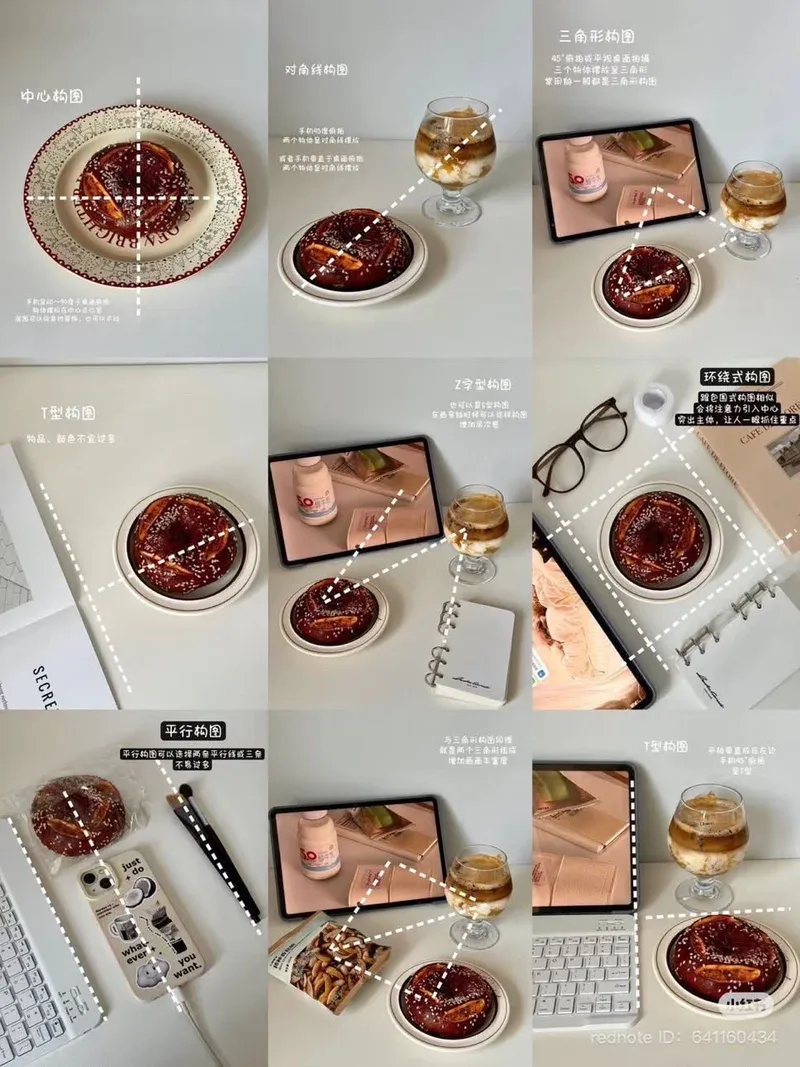
Flat lay food photography is the art of arranging plates, drinks, and props on a flat surface and shooting them from directly above. The composition makes or breaks the shot — a random scatter of items looks messy, while a planned arrangement tells a story and guides the viewer’s eye. The seven techniques below cover every common flat lay scenario, from a single plate to a full table spread.
🏷 Photography gear for flat lay food shots Buy on Amazon → · Check on Etsy →
1. Center Composition (中心构图)
The simplest technique: place the main dish directly in the center of the frame. This works for single plates, bowls, or cups where the food itself is the star. The surrounding surface provides negative space that draws attention to the subject.
The key is balance. If the plate is perfectly centered, the image feels stable and calm. Add a small prop — a napkin, a fork, a glass — slightly off-center to create subtle visual interest without breaking the symmetry.
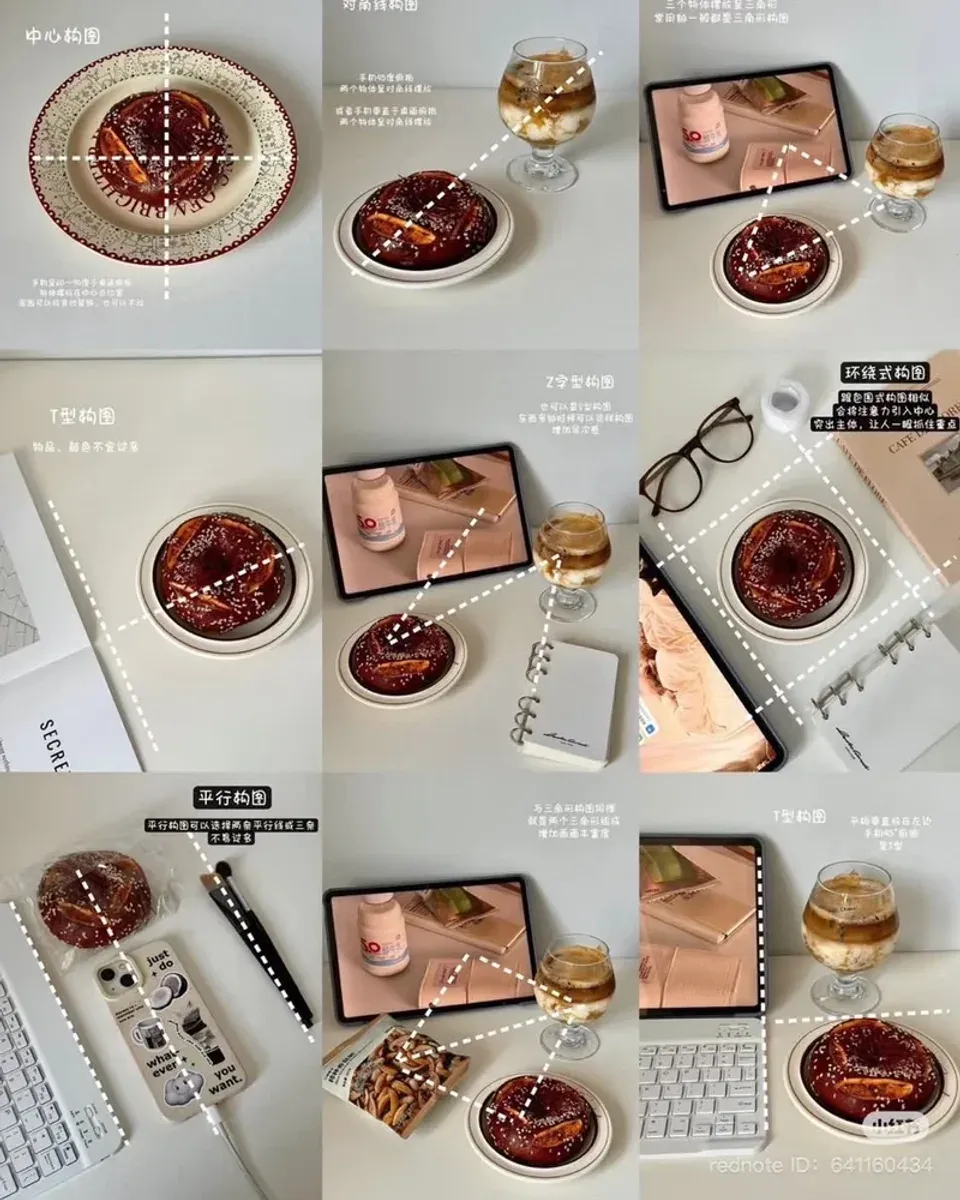
2. Diagonal Composition (对角线构图)
Place the main dish on one diagonal corner and supporting props on the opposite corner. The eye follows the diagonal line from one end to the other, creating a sense of movement and direction. This technique works well with two or three items — a plate, a drink, and a small accessory.
The diagonal does not have to be exact. A slight angle — 30 to 45 degrees — creates enough visual tension to keep the image dynamic without feeling forced. Avoid placing items directly on the horizontal or vertical axes, which flattens the composition.
3. Triangle Composition (三角形构图)
Arrange three items in a triangular formation — the main dish at the apex, two supporting props at the base corners. The triangle is the most stable geometric shape in photography, and it works naturally with food flat lays that include a plate, a drink, and a side item.
The triangle can be equilateral (all sides equal) for formal, balanced shots, or scalene (sides of different lengths) for more dynamic, casual arrangements. The key is that the three points create a closed visual loop that keeps the viewer’s eye moving within the frame.
4. T-Shape Composition (T型构图)
Place the main dish on the left or right side, with supporting props forming a horizontal line across the top or bottom. The resulting T-shape creates a clear visual hierarchy — the main subject is prominent, and the props provide context without competing for attention.
This technique works best with four or more items. The T-shape handles complexity well, giving each prop its own space while maintaining a clear focal point. Keep colors and textures coordinated to avoid visual chaos.
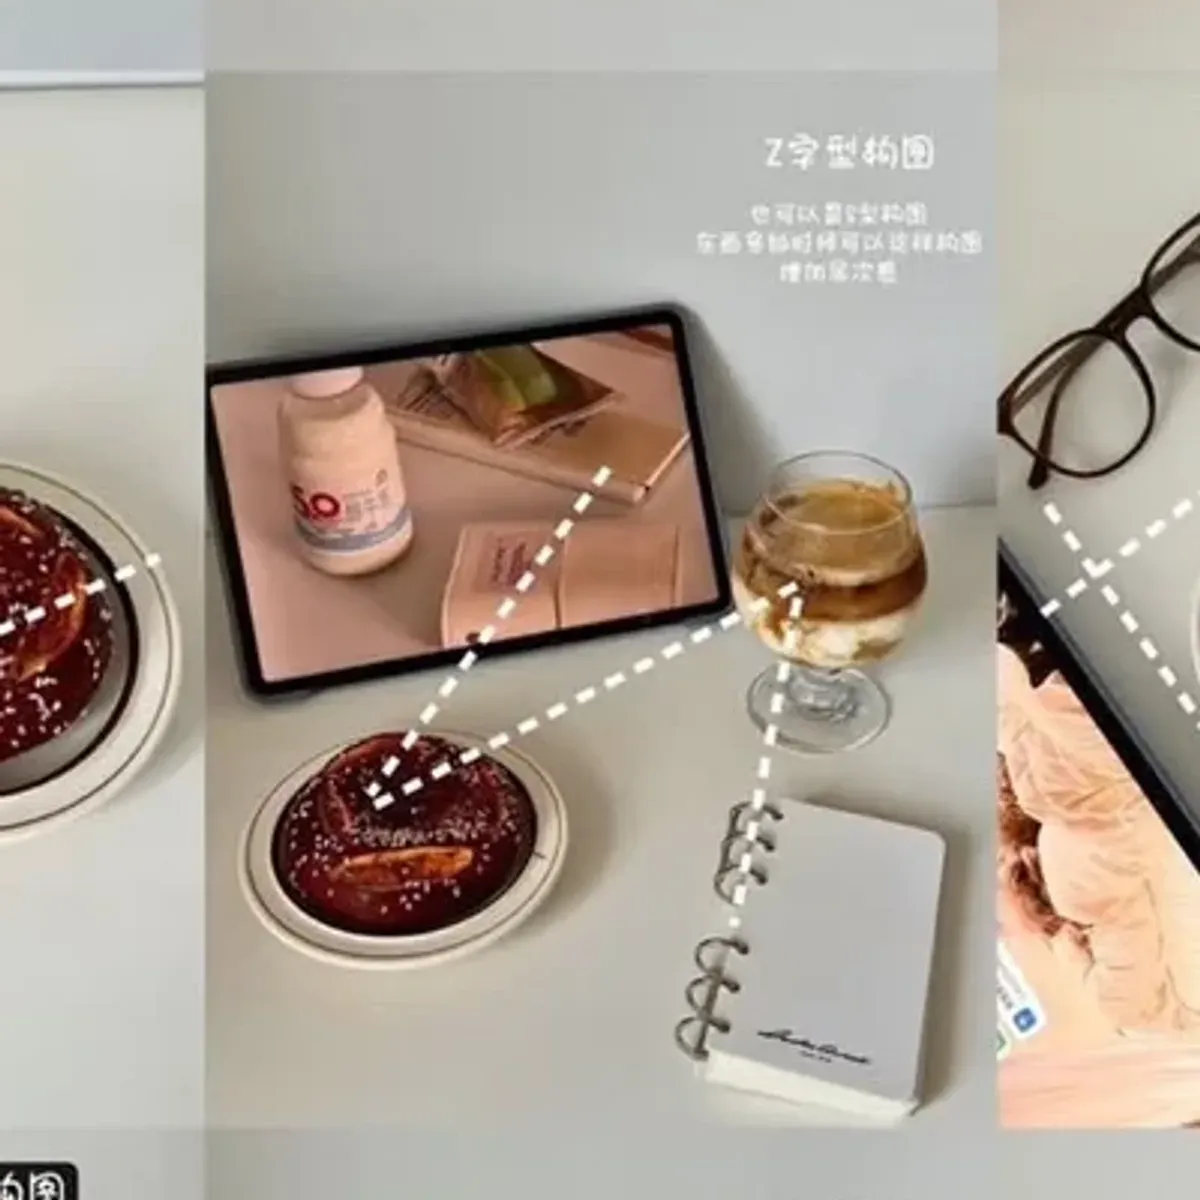
5. Z-Shape Composition (Z字型构图)
Guide the viewer’s eye in a Z-pattern across the frame — starting at the top-left, moving right, then diagonally down to the bottom-left, and right again. Place items at each point of the Z to create a natural reading flow that mimics how people scan images.
The Z-shape is ideal for spreads with multiple small items — cookies, pastries, tea cups, napkins. Each item occupies a point on the Z, and the eye moves smoothly from one to the next without jumping or getting lost.
6. Surrounding Composition (环绕式构图)
Place the main dish in the center and arrange props in a circle around it. The surrounding items frame the subject, creating a visual border that draws attention inward. This technique works for hero shots where the main dish deserves maximum focus.
Keep the surrounding items similar in size and visual weight. If one prop is much larger or brighter than the others, it pulls attention away from the center. The goal is a balanced frame where the eye naturally settles on the main dish.
7. Parallel Composition (平行构图)
Align items in parallel rows — plates in one row, drinks in another, props in a third. The parallel lines create order and rhythm, making the image feel organized and intentional. This technique works for flat lays with many similar items — a row of cupcakes, a line of coffee cups, or a grid of cookies.
The parallel lines do not need to be perfectly straight. A slight curve or angle adds visual interest without breaking the overall pattern. The key is consistency — if one row is parallel, all rows should follow the same direction.
Who should use these techniques?
Food bloggers who want consistent, professional-looking flat lays. These seven techniques cover every common scenario — from single-plate hero shots to full-table spreads. Master two or three and you can handle any food photography assignment.
Social media creators who shoot food content for Instagram, TikTok, or Pinterest. Flat lay food photography is the most-shared format on visual platforms, and composition is what separates a scroll-stopping image from a forgettable one.
Home cooks who want to document their recipes. You do not need professional equipment — a smartphone overhead mount and natural window light are enough. The composition techniques work with any camera, from a flagship phone to a full-frame mirrorless.
Verdict
✅ Pros:
- Seven techniques cover every flat lay scenario
- Center and triangle compositions are beginner-friendly
- Diagonal and Z-shape add dynamic movement
- Surrounding composition highlights a single hero dish
- Parallel composition handles large numbers of items
- Works with any camera, from smartphone to professional
- No special equipment required beyond overhead mounting
❌ Cons:
- Overhead mounting requires a tripod with boom arm or creative improvisation
- Natural window light is ideal but not always available
- Coordinating props and colors takes planning and practice
- Flat lay lighting can appear flat without shadows or depth cues
- Each technique requires different prop quantities and arrangements
- mastering all seven takes time — start with two or three
摄影器材 for food photography Best prices on Amazon →
🇩🇪 This article is also available in Deutsch:
Read in Deutsch →
FAQ
What is flat lay food photography?
Flat lay food photography is shooting from directly above, arranging food, drinks, and props on a flat surface and photographing them from a 90-degree angle. The composition is planned to create visual patterns and guide the viewer's eye through the frame.
What is the best composition for flat lay food photography?
Center composition works for single dishes, diagonal for creating movement, triangle for balanced multi-item layouts, and surrounding for framing a central subject. The best choice depends on how many items you are photographing and the story you want to tell.
How do you arrange props in a flat lay?
Start with the main dish as the focal point, then add supporting props (drinks, utensils, napkins, books) that follow the chosen composition pattern. Keep colors coordinated, leave some negative space, and avoid cluttering the frame.
What camera angle is used for flat lay food photography?
Directly overhead at 90 degrees to the surface. Use a tripod with a boom arm, or stand on a chair and shoot straight down. The camera sensor must be parallel to the surface to avoid perspective distortion.
Do I need special equipment for flat lay food photography?
A tripod with a horizontal arm or overhead mount is essential for consistent framing. Natural window light or a softbox provides even illumination. A clean, flat surface (table, countertop, or backdrop board) is the foundation.

Continue reading
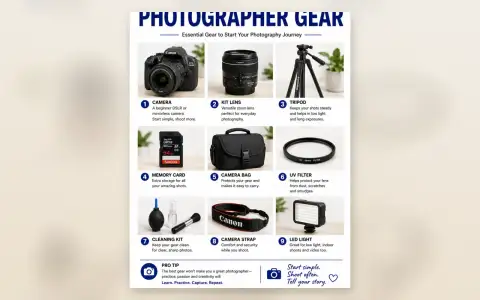
Beginner Photographer Gear: 9 Essential Items to Start Your Photography Journey
Beginner photographer gear guide: Canon EOS 2000D DSLR, 18-55mm kit lens, tripod, SanDisk 64GB memory card, camera bag, UV filter, cleaning kit, camera strap, and LED light. Everything you need to start shooting: nothing you don't.
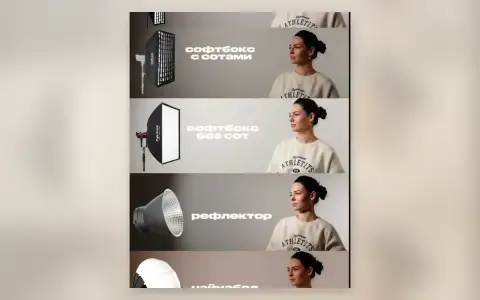
Studio Lighting Modifiers Comparison: Strip, Softbox, Reflector, China Ball, and Octabox
Studio lighting modifiers compared: strip light with grid, softbox with and without grid, reflector dish, China ball lantern, and octabox with grid. How each modifier changes light quality, spread, and mood — with the same model and the same light source.
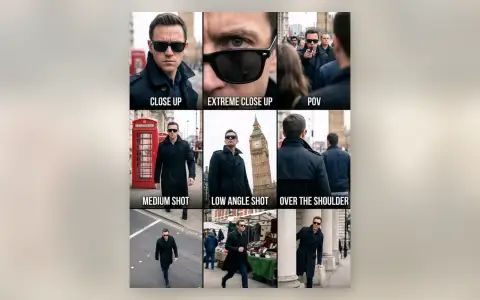
Camera Shot Types Explained: 12 Frames Every Photographer and Videographer Should Know
Camera shot types guide: Close Up, Extreme Close Up, POV, Medium Shot, Low Angle, Over the Shoulder, High Angle, Tracking, Reveal, Wide Shot, Dutch Angle, and Bird's Eye View. When to use each and why it matters.