Lunchbox PC: How to Build a Desktop Inside a Toolbox Case
Lunchbox PC build guide: mounting a mini-ITX motherboard, PSU, and drives inside a plastic toolbox case. Component choices, grounding and ventilation rules, and the mistakes that kill lunchbox builds.
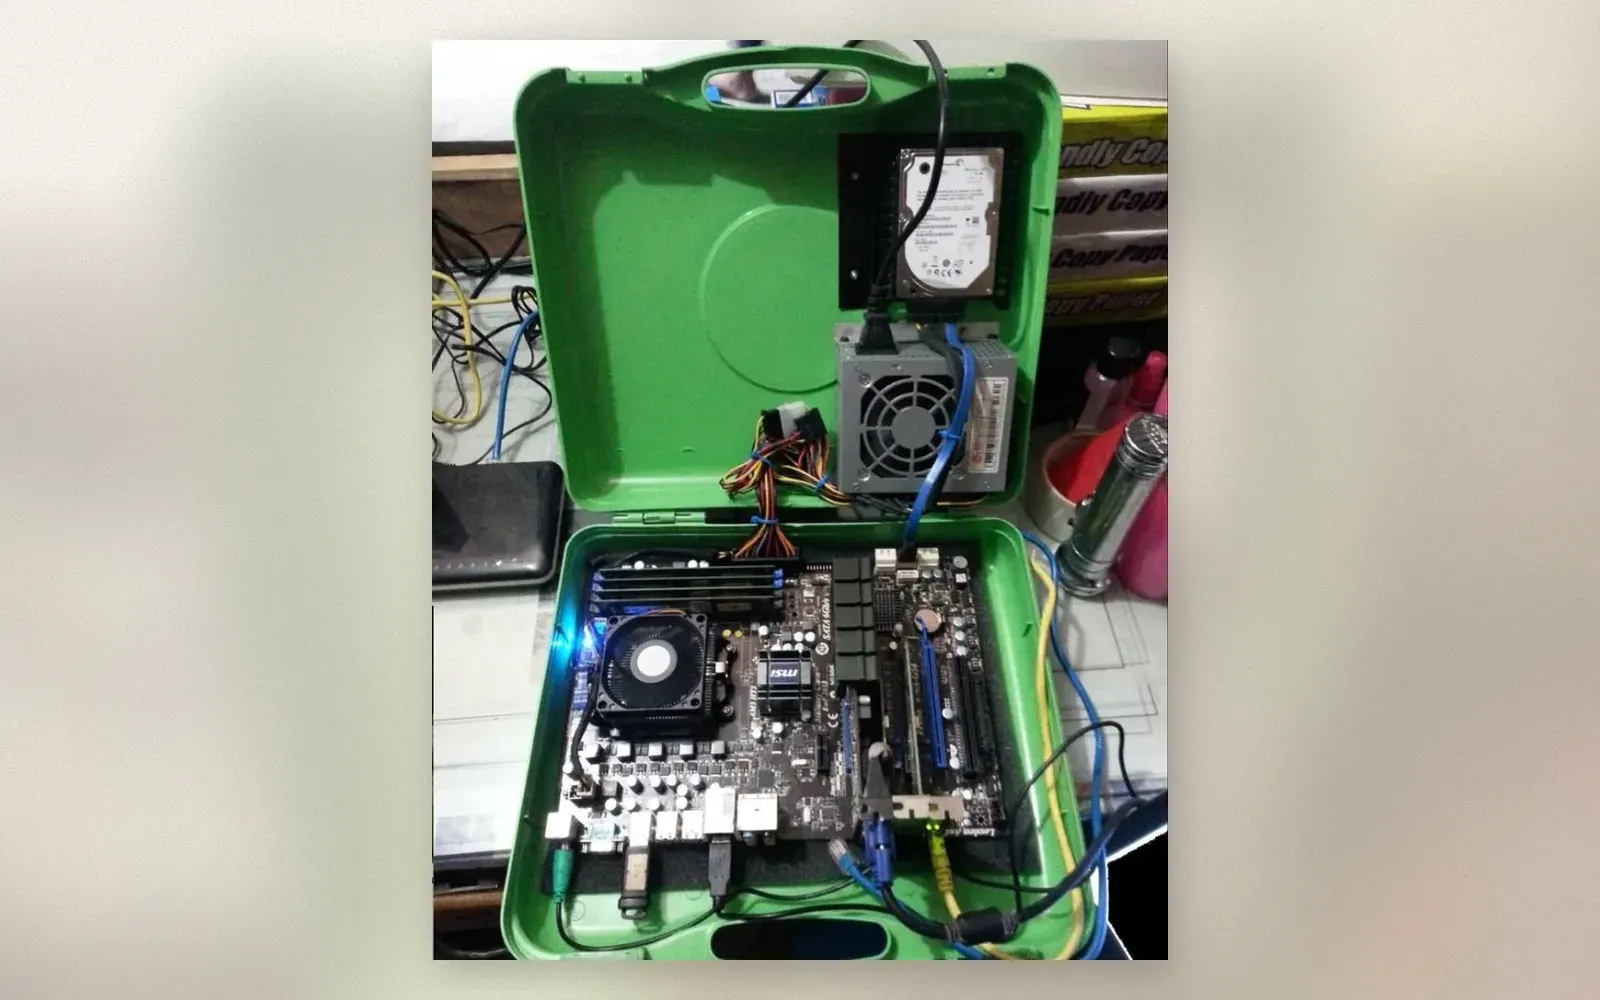
Somewhere on every tech forum, a green plastic toolbox opens to reveal a fully working computer. The build in the photo is the classic: an MSI motherboard screwed to the bottom half over foam standoffs, CPU cooler and RAM in place, the I/O panel poking through the case wall, and the lid carrying a hard drive and a PSU with its fan facing the world. It is ugly, it is brilliant, and it works. This guide walks the lunchbox PC: what to buy, what to mount where, and the three mistakes that kill these builds.
🏷 Lunchbox PC parts Mini-ITX Boards → · SFX PSUs →
The Case: Any Toolbox With a Lid
The case in the photo is a standard plastic toolbox from a hardware store, roughly 45 by 25 cm. Any toolbox with a rigid lid, a carry handle, and 8 cm of depth works. The cost is 10 to 25 dollars, which is the argument: commercial ITX cases start at four times that.
The bottom half takes the motherboard; the lid takes the drives and PSU. The hinge carries no cables, so the lid opens like a laptop with the wiring loom bridging the gap. A handle on a working PC is the charm of the whole project.
The Motherboard: Mini-ITX or Nothing
The green build crams a full ATX board into the case, which works but leaves zero margin: no ventilation gaps, cables pinched at the walls, and expansion slots hanging over the edge. Mini-ITX boards, 17 by 17 cm, fit with room to breathe and bring modern CPU support on board.
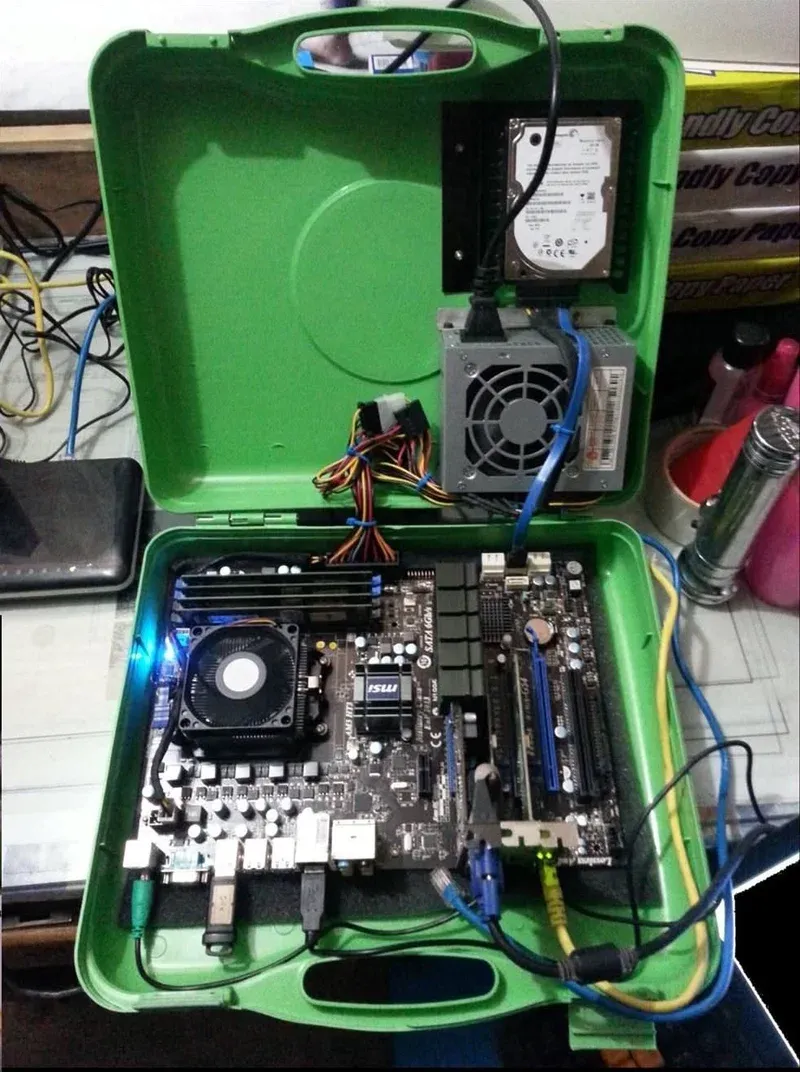
Mounting uses foam tape, rubber grommets, or brass standoffs glued to the floor. Metal standoffs through plastic risk shorts; nylon standoffs hold the board without conductive contact. The I/O shield cutout is a jigsaw or rotary-tool job along the case wall.
The Power Supply: SFX Facing Outward
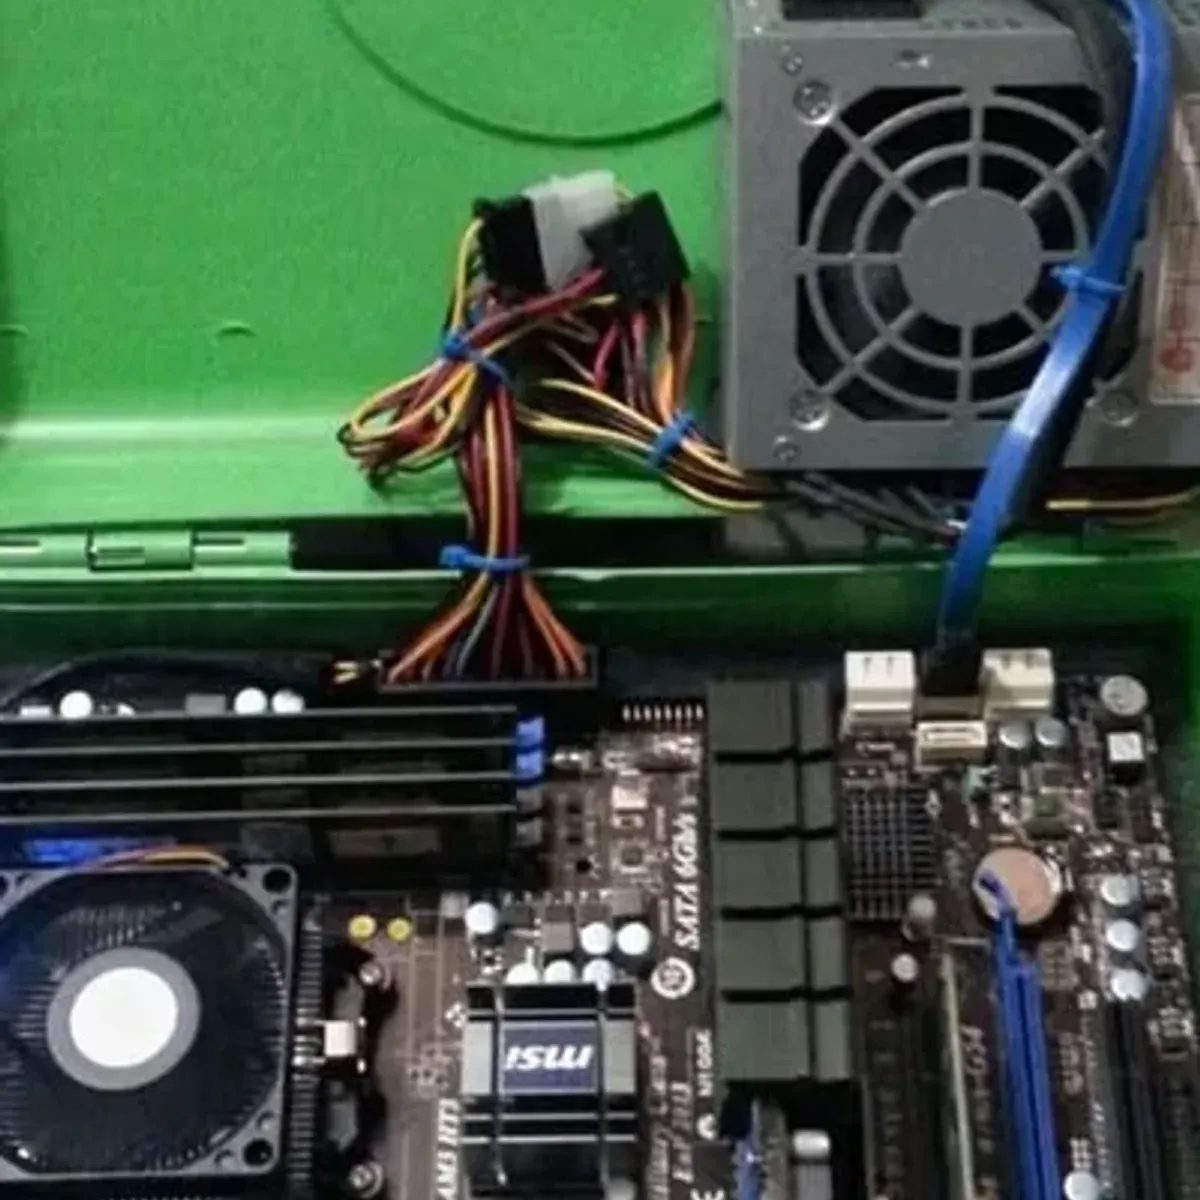
The build in the photo mounts a full ATX PSU in the lid, fan facing out through a cutout. It works because the lid is deep enough. Cleaner builds use an SFX PSU, half the length, mounted on a bracket with the fan exhausting through the case wall.
🏷 Power and cooling Low-Profile Coolers → · Case Fans →
Two power rules: ground the PSU properly, metal PSU cases bolted to grounded hardware or the mains earth doing its job, and never seal the PSU inside plastic. Toolbox plastic insulates heat and melts where hot exhaust lingers.
Storage and Cooling: The Lid real estate
The lid in the photo carries a 3.5-inch hard drive on a bracket and the PSU beside it. Modern builds swap the spinning drive for a 2.5-inch SSD or an NVMe drive on the motherboard, which frees the entire lid for airflow and a second fan.
Cooling is the design work of a lunchbox build. Toolbox plastic insulates; without cut intake and exhaust holes, any build throttles within an hour. The pattern that works: intake holes low on one end wall, exhaust holes high on the opposite end, low-profile CPU cooler blowing toward the exhaust, and the PSU fan adding a second exit.
The Three Mistakes That Kill Lunchbox Builds
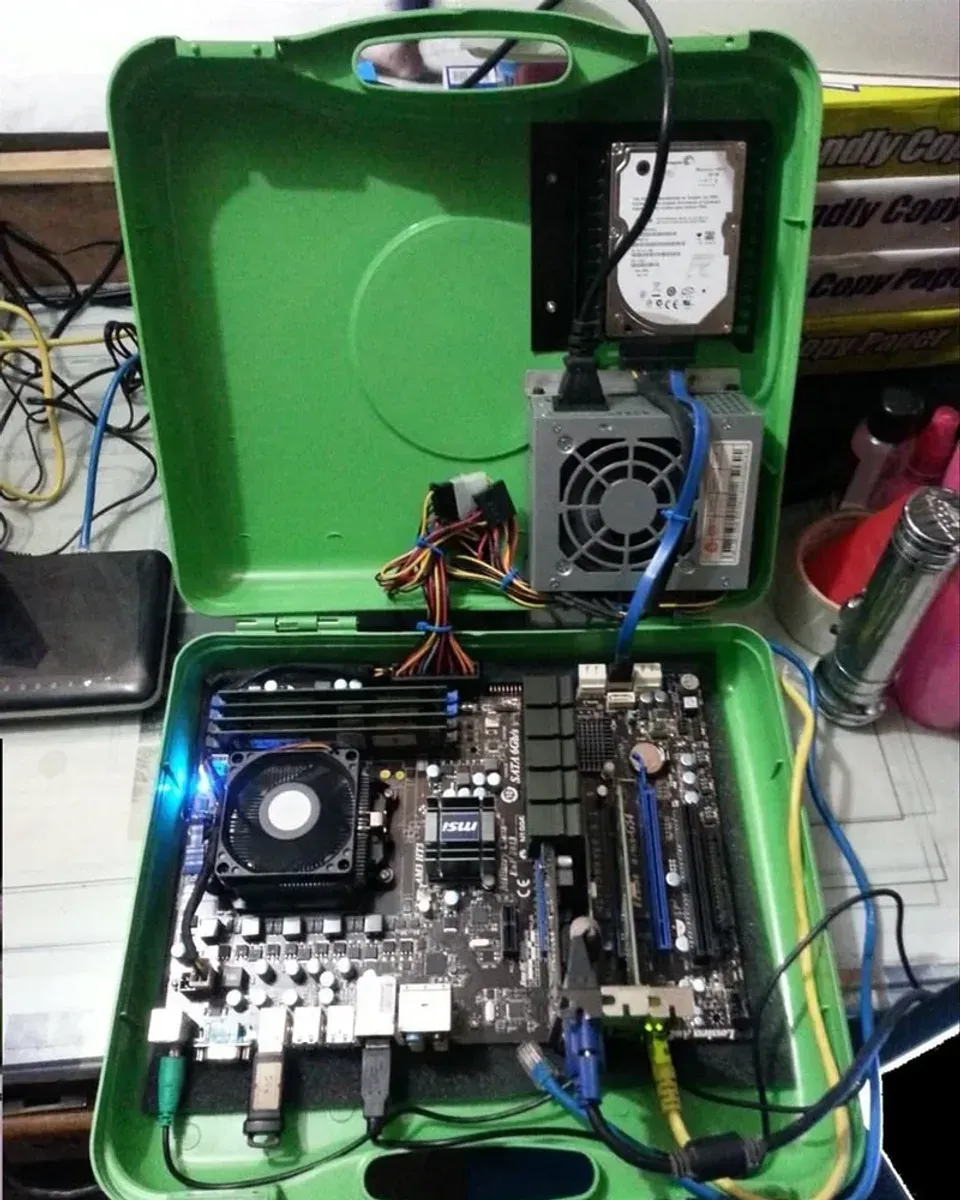
First: ungrounded PSUs. The case tickles, the components glitch, and the fix is a proper earth connection. Second: sealed plastic. Every lunchbox that throttles has no ventilation plan. Third: cable chaos across the hinge. The loom needs slack, a sleeve, and a route that survives a hundred open-close cycles.
Who should build one?
DIY builders who want a portable desktop for LAN parties, workshop duty, or a workbench testing station. The toolbox opens on the bench, the computer boots, and the whole thing travels in one hand.
Anyone with spare components and 30 dollars of case budget. The build teaches more about PCs than any prebuilt, because every mounting and airflow decision is manual.
Nobody who needs silence or polish. Toolbox plastic hums, cables show, and the aesthetic is intentionally industrial.
Verdict
✅ Pros:
- Working portable desktop for the price of a toolbox
- Mini-ITX fits with real ventilation margin
- Lid carries drives and PSU without a custom case
- Teaches mounting, airflow, and grounding hands-on
- Handle makes LAN transport trivial
- Every part replaceable with standard hardware
❌ Cons:
- Plastic case needs cut ventilation holes
- Cable management is permanent project work
- No dust filtration, ever
- Ungrounded builds are genuinely dangerous
- Full ATX boards leave zero thermal margin
- Resale value: none, this is a keeper build
🏷 More build parts Standoff Kits →
🇩🇪 This article is also available in Deutsch:
Read in Deutsch →
FAQ
What is a lunchbox PC?
A desktop computer built inside a plastic toolbox case: motherboard and components mounted in the bottom half, power supply and drives in the lid. The handle makes it portable, and the case costs a fraction of any ITX enclosure.
Which motherboard size fits a toolbox case?
Mini-ITX, 17 by 17 cm, fits standard toolboxes with room for cabling. Full ATX boards physically squeeze in but leave no ventilation margin, as the popular green MSI build shows.
Is a plastic toolbox case safe for a PC?
Yes with three rules: ground the PSU to a metal plate or the mains earth properly, keep flammable plastic away from hot components, and cut ventilation holes. A fanless season inside sealed plastic overheats any build.
How do you cool a lunchbox PC?
Cut intake and exhaust holes in the case walls, use a low-profile CPU cooler, and mount the PSU fan facing outward. Toolbox plastic insulates, so airflow design matters more than in any steel case.
What does a lunchbox build cost?
Around the price of the components plus 15 to 30 dollars for the case, standoffs, and hardware. The savings versus a commercial ITX case are modest; the build is about the project, not the budget.

Continue reading
Black Desk Setup: 7 Upgrades That Finish a Battlestation
Black desk setup guide: monitor light bar, riser shelf, grey desk mat, 75 percent mechanical keyboard, studio speakers, and a flip-clock tablet. The hardware layer that finishes a dark battlestation.
Photoshop vs Illustrator: Essential Keyboard Shortcuts Side by Side
Photoshop CC vs Illustrator keyboard shortcuts cheat sheet: 24 essential tools with their shortcuts compared. Move, Select, Pen, Type, Brush, Gradient, and more — the shortcuts every designer needs.
Desk Clamp Power Strip with 65W USB-C: Charge Everything Under Your Desk
A clamp-on power strip with 65W USB-C fast charging that mounts under your desk. Here's what it actually delivers.