Camera Basics: The Exposure Triangle Explained With Visual Examples
Camera basics guide: how aperture (f/1.4 to f/16), shutter speed (1/1000 to 1/4 sec), and ISO (50 to 1600) work together to control exposure. Visual examples showing exactly what each setting does to your photos.
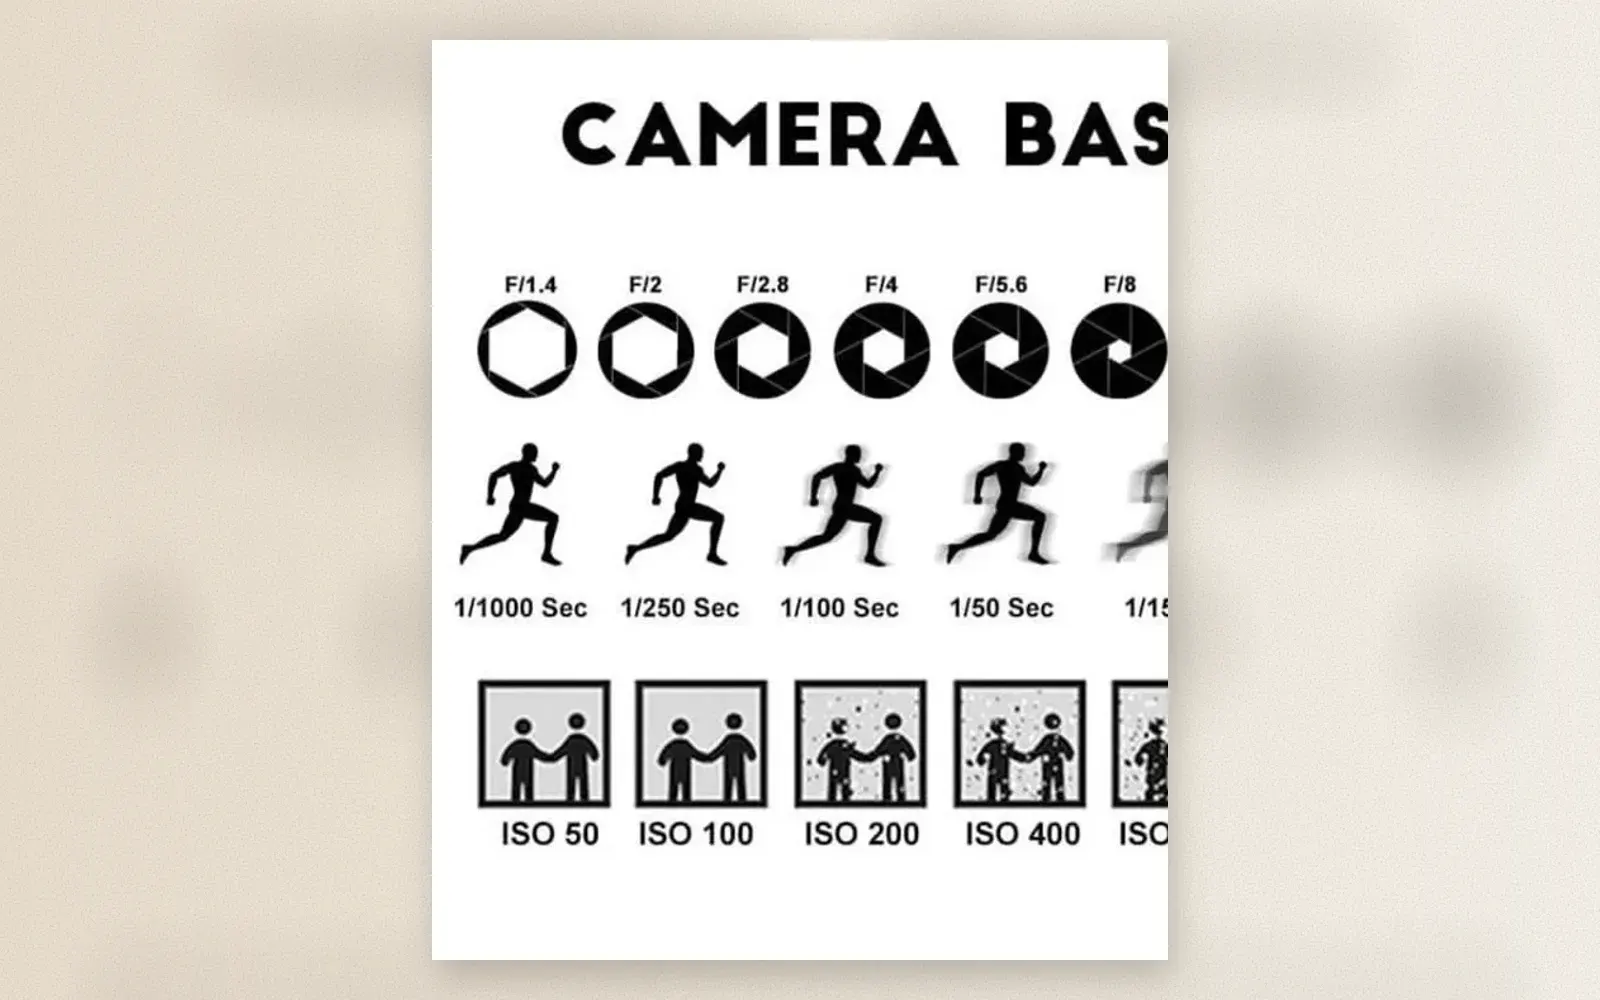
Every photograph is controlled by three settings: aperture, shutter speed, and ISO. These three form the exposure triangle — change one and you must adjust at least one of the others to keep the image correctly exposed. The infographic below shows exactly what each setting does: aperture controls depth of field, shutter speed controls motion blur, and ISO controls noise. Understanding these three is the foundation of every photograph you will ever take.
📷 Camera gear for learning photography Buy on Amazon → · Check on Etsy →
Aperture: Controlling Depth of Field
Aperture is the size of the opening in the lens that lets light through. It is measured in f-stops — f/1.4, f/2, f/2.8, f/4, f/5.6, f/8, f/11, f/16. The confusing part: a smaller f-number means a larger opening. f/1.4 is wide open; f/16 is nearly closed.
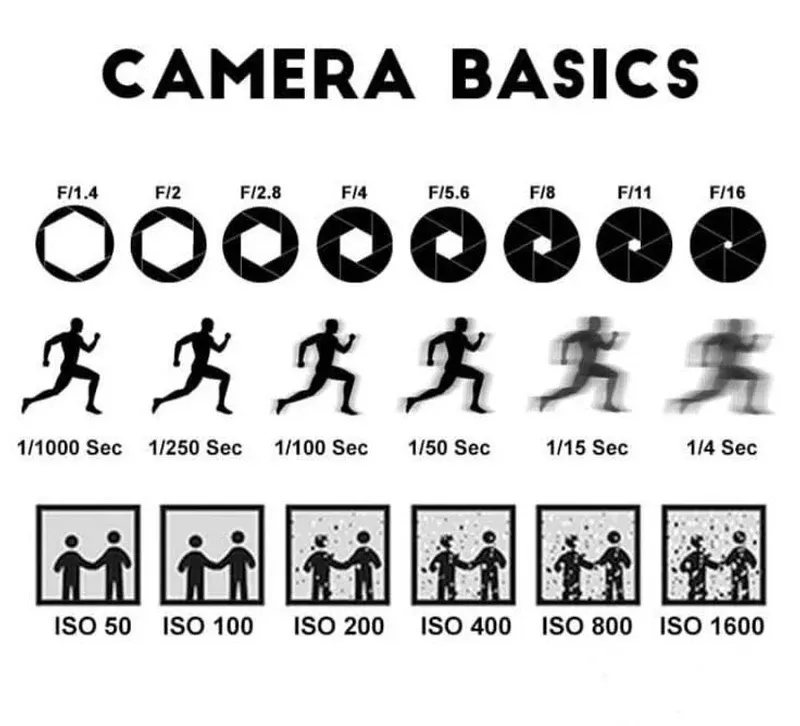
Wide aperture (f/1.4, f/2) lets in more light and creates shallow depth of field. The subject is sharp, the background is blurry. This is the portrait look — isolate your subject from the environment. The tradeoff is that focus is critical; a few centimeters off and the eyes are soft.
Narrow aperture (f/8, f/11, f/16) lets in less light but keeps more of the scene in focus. This is the landscape look — everything from the foreground flowers to the distant mountains is sharp. The tradeoff is that you need more light (brighter conditions or slower shutter speed) to compensate.
Shutter Speed: Controlling Motion
Shutter speed is how long the camera sensor is exposed to light. It is measured in seconds or fractions of a second — 1/1000, 1/500, 1/250, 1/125, 1/60, 1/30, 1/15, 1/4, 1 second. Fast shutter speeds freeze motion; slow shutter speeds blur it.
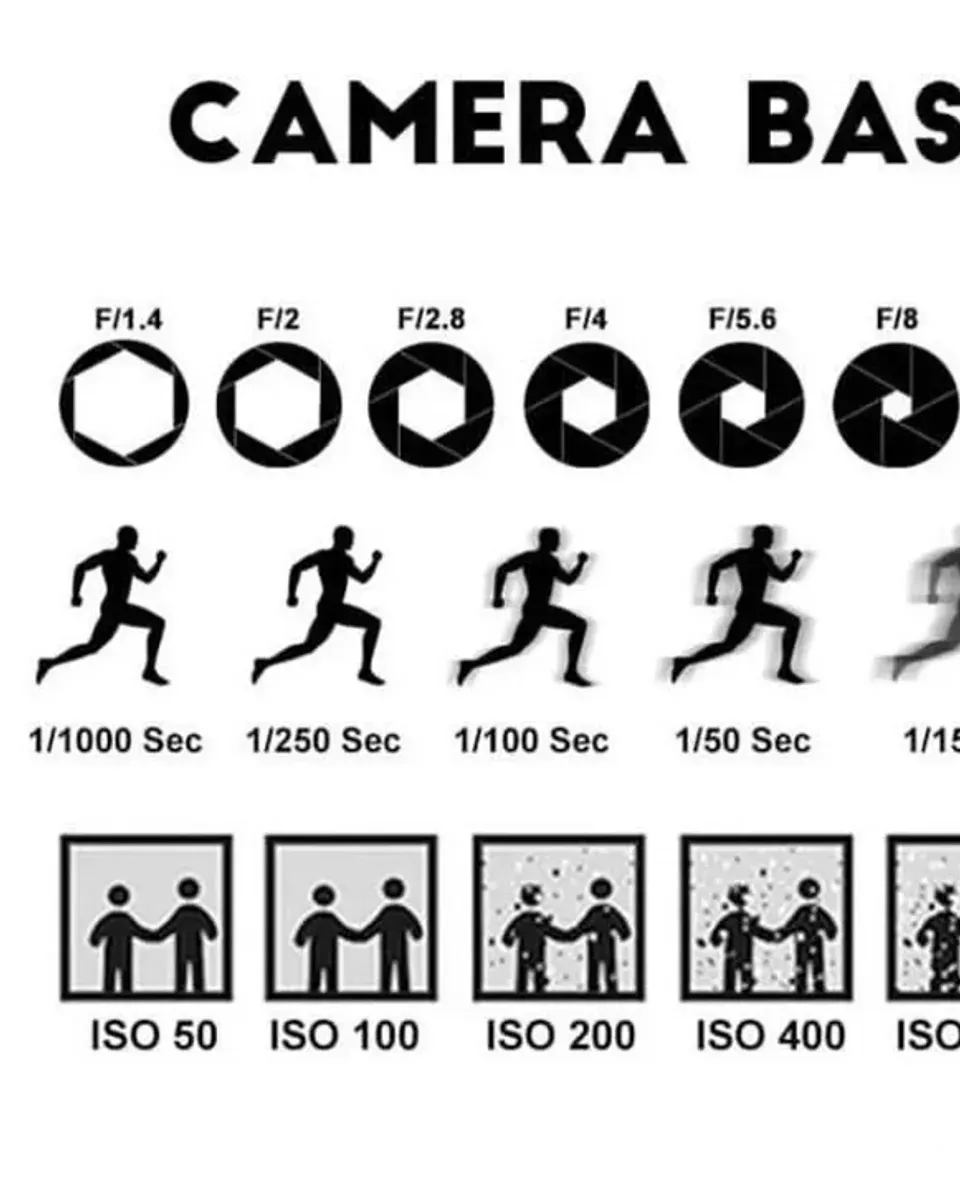
Fast shutter speed (1/1000, 1/500) freezes action. A runner mid-stride is sharp. A water droplet is suspended in air. A bird in flight is frozen with wings spread. The tradeoff is that fast shutter speeds need more light — you either open the aperture wider or raise the ISO.
Slow shutter speed (1/15, 1/4, 1 second) creates motion blur. A runner becomes a streak. Water becomes silk. Car lights become trails. This is intentional creative blur, not camera shake. The difference: creative blur follows the subject’s movement, camera shake randomizes it. Use a tripod for any shutter speed slower than 1/60.
ISO: Controlling Noise
ISO is the sensor’s sensitivity to light. It is measured in numbers — ISO 50, 100, 200, 400, 800, 1600, 3200, 6400. Low ISO produces clean images; high ISO produces noisy images.
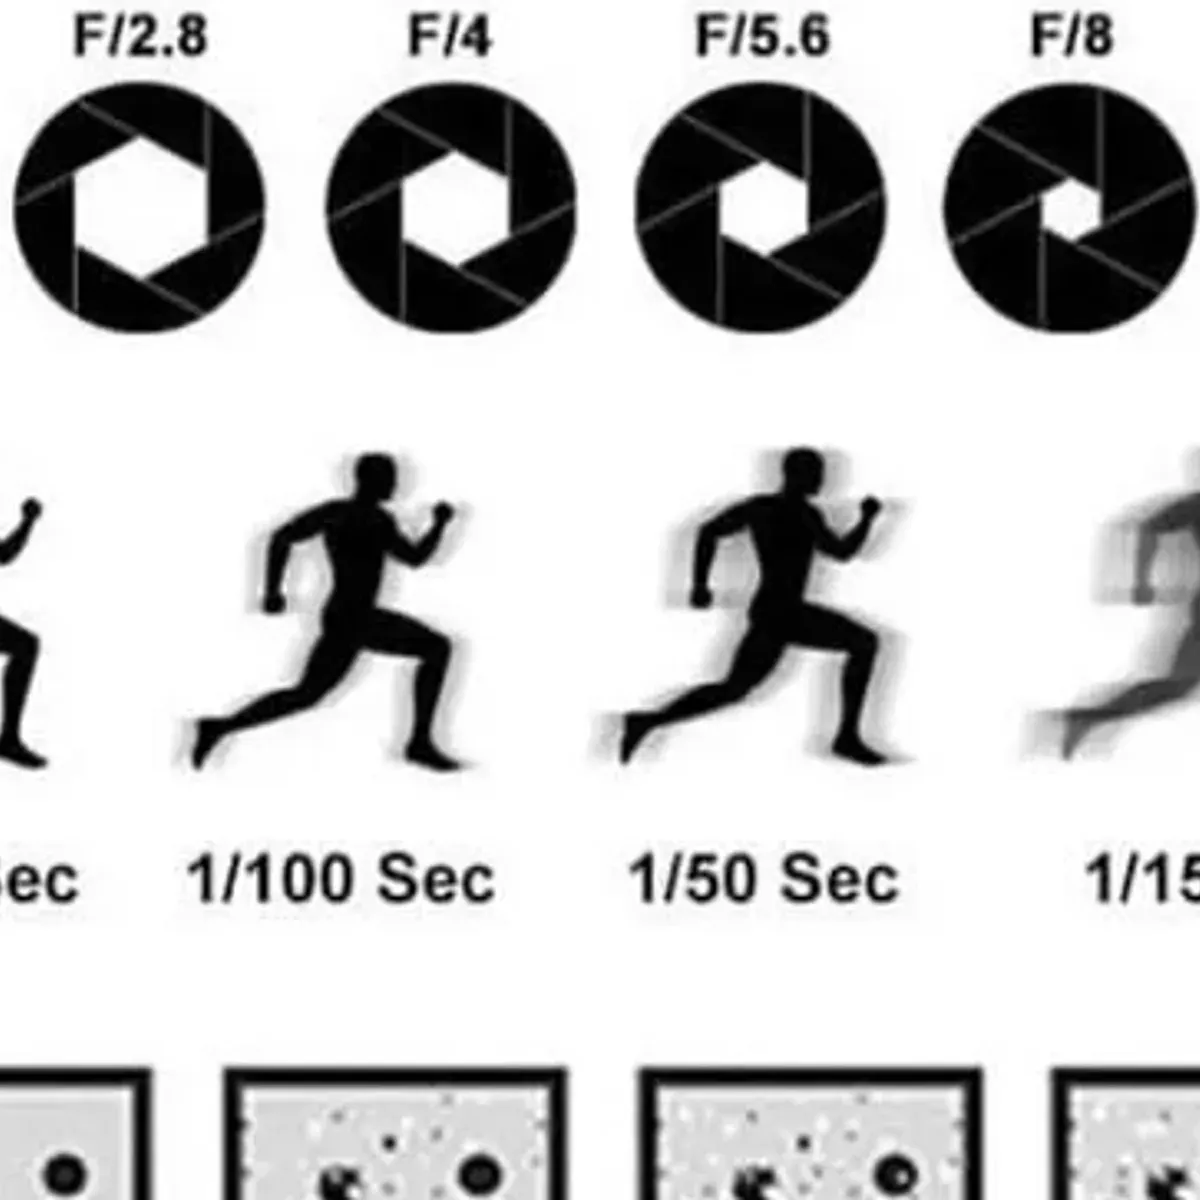
Low ISO (50, 100) produces the cleanest images with the most detail and dynamic range. This is what you want in bright daylight, studio lighting, or with a tripod where you can use slower shutter speeds. The tradeoff is that low ISO requires more light — wider aperture or slower shutter.
High ISO (800, 1600, 3200) brightens the image in low light but introduces noise — grainy speckles that reduce detail and color accuracy. Modern cameras handle high ISO much better than older models, but the principle remains: use the lowest ISO that gives you the shutter speed you need.
How the three settings work together
The exposure triangle is a balancing act. If you widen the aperture (more light), you can use a faster shutter speed (less light) or lower ISO (less sensitivity). If you slow the shutter (more light), you can narrow the aperture (less light) or lower ISO. Every adjustment to one setting requires a compensating adjustment to at least one other.
Example: shooting a portrait indoors with dim lighting. You want background blur (f/1.8), so you set the aperture wide. But the image is dark because there is not enough light. You can slow the shutter, but 1/30 is too slow for handheld shooting. So you raise ISO to 800 — the image brightens, but noise appears. The compromise: f/1.8, 1/60, ISO 800. Acceptable noise, acceptable sharpness, correct exposure.
Example: shooting a landscape on a sunny day. You want everything sharp (f/11), so you narrow the aperture. The image is correctly exposed at 1/250, ISO 100. No compromises needed — bright light gives you room to use optimal settings.
Who should read this guide?
Beginners who just got their first camera and want to understand what the numbers mean. The exposure triangle is the first concept to master before moving to composition, lighting, or post-processing.
Smartphone photographers stepping up to a dedicated camera. Phones handle exposure automatically; dedicated cameras give you control. Understanding the triangle is the difference between snapshots and intentional photographs.
Anyone who has been shooting in auto mode and wants to take creative control. The triangle gives you the tools to decide what matters in each shot — blur the background, freeze the action, or shoot in low light — instead of letting the camera decide.
Verdict
✅ Pros:
- Visual examples make abstract concepts concrete
- Aperture section explains depth of field clearly
- Shutter speed section distinguishes creative blur from camera shake
- ISO section explains the noise tradeoff honestly
- Practical examples show how to balance all three settings
- Works for any camera type — smartphone, point-and-shoot, mirrorless, DSLR
- Covers the essential foundation of all photography
❌ Cons:
- Does not cover metering modes or exposure compensation
- No discussion of RAW vs JPEG impact on ISO tolerance
- Examples use still images — video exposure has additional considerations
- Does not cover manual vs aperture priority vs shutter priority modes
- Advanced topics (hyperfocal distance, reciprocal rule) are beyond this guide
📷 Find camera gear for beginners Best prices on Amazon →
🇩🇪 This article is also available in Deutsch:
Read in Deutsch →
FAQ
What is the exposure triangle in photography?
The exposure triangle is the relationship between aperture, shutter speed, and ISO. These three settings control how much light reaches the camera sensor and how the final image looks. Changing one setting requires adjusting at least one of the others to maintain correct exposure.
What does aperture control in a photo?
Aperture controls depth of field — how much of the image is in focus. A wide aperture (f/1.4, f/2) creates shallow depth of field with blurry backgrounds. A narrow aperture (f/8, f/16) keeps more of the scene sharp from front to back.
What does shutter speed control in a photo?
Shutter speed controls motion blur. A fast shutter speed (1/1000, 1/500) freezes action. A slow shutter speed (1/15, 1/4) creates motion blur. The tradeoff is that slower shutter speeds require more light or a tripod to avoid camera shake.
What does ISO control in a photo?
ISO controls the sensor's sensitivity to light. A low ISO (50, 100) produces clean, noise-free images. A high ISO (800, 1600) brightens the image but introduces noise and grain. Use the lowest ISO that gives you the shutter speed you need.
How do I balance aperture, shutter speed, and ISO?
Start with the setting that matters most for your shot. For portraits, set aperture first (f/1.8 for background blur). For action, set shutter speed first (1/500 or faster). For low light, raise ISO as a last resort. Then adjust the other settings to maintain correct exposure.

Continue reading
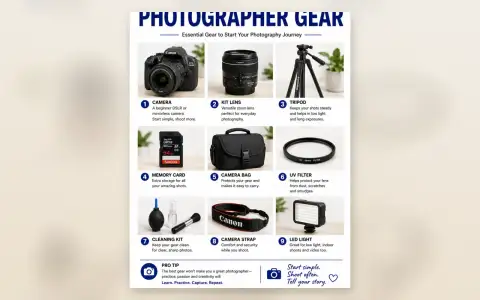
Beginner Photographer Gear: 9 Essential Items to Start Your Photography Journey
Beginner photographer gear guide: Canon EOS 2000D DSLR, 18-55mm kit lens, tripod, SanDisk 64GB memory card, camera bag, UV filter, cleaning kit, camera strap, and LED light. Everything you need to start shooting: nothing you don't.
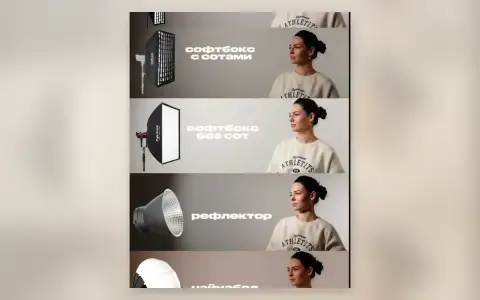
Studio Lighting Modifiers Comparison: Strip, Softbox, Reflector, China Ball, and Octabox
Studio lighting modifiers compared: strip light with grid, softbox with and without grid, reflector dish, China ball lantern, and octabox with grid. How each modifier changes light quality, spread, and mood — with the same model and the same light source.
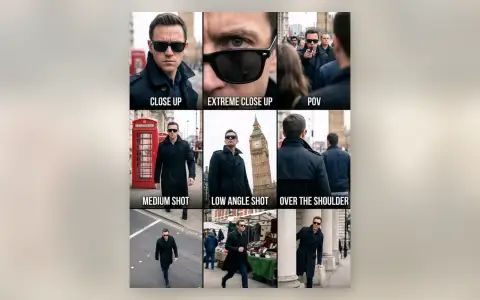
Camera Shot Types Explained: 12 Frames Every Photographer and Videographer Should Know
Camera shot types guide: Close Up, Extreme Close Up, POV, Medium Shot, Low Angle, Over the Shoulder, High Angle, Tracking, Reveal, Wide Shot, Dutch Angle, and Bird's Eye View. When to use each and why it matters.